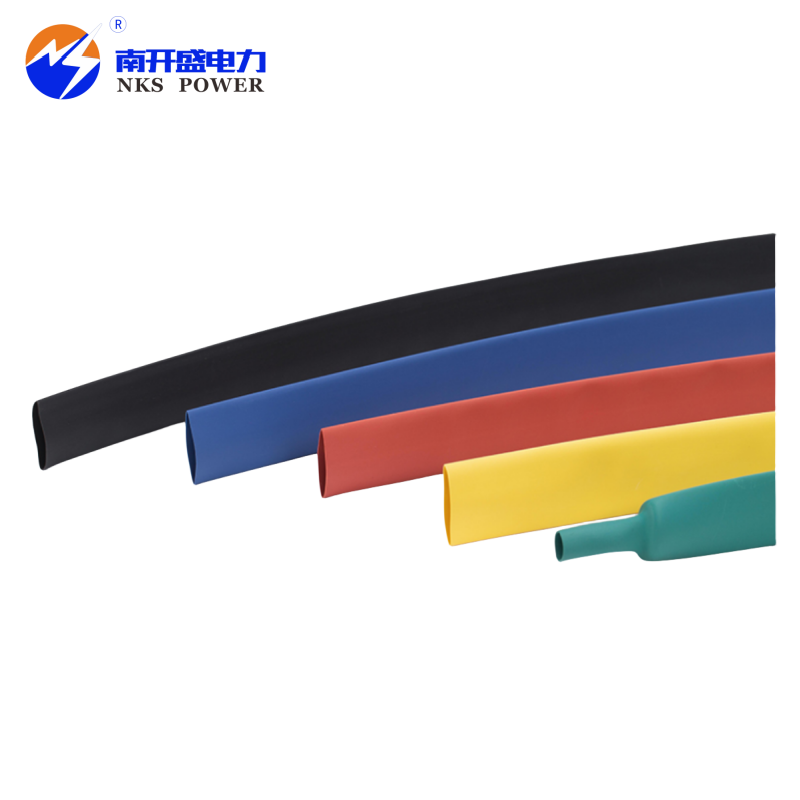
In power systems, heat shrink cable joint accessories belong to the critical components used as one of the preferred ways for making reliable connections. Excellent sealing properties, good insulation, and simple installation lead to application on all voltage levels. In case it is not installed properly, it may lead to insulation failure and water seepage that can finally result in a complete short circuit. Therefore, learning how to install it is very important. This article shares major steps and key points.
I. Careful preparation: the foundation of success
Preparation is the basis of success. Preparation is the main requirement for successful installation:
Tool and Material Verification
Rigidly verify all the parts as per the manual, which should include heat shrink cable joint, heat shrink tubing, sealant, stress control for medium and high pressure, special cleaning agent, sandpaper, and heating tools (propane spray gun/heat gun). Personal protective equipment (heat-resistant gloves, goggles) is essential.
Accurate selection, voltage level is the core basis:
1. Low-voltage application
For use in systems of 0.6/1kV and less. The low-voltage heat shrink cable joint features a simple design, mainly ensuring basic insulation and protection against moisture.
2. Medium voltage application
For use in 3.6/6kV up to 26/35kV systems. A detailed stress control layer must be included with the medium voltage heat shrink joints so as to ensure even distribution of the electric field at the end of the cable, thereby avoiding corona discharges as well as break-downs in insulation.
3. High voltage application
Applicable to systems of 66kV and above. High voltage heat shrink cable joints have a complex design, multiple layers of insulation and stress control, and require for their operation a professional to undertake their operation.
Environmental assessment: Ensure that the place is dry and clean with good ventilation. It should not be raining or snowing outside with high humidity and strong winds. The ambient temperature falls between 0°C to 40°C.
II. Standardized installation: step by step
1. Strict processes are at the core of reliable performance, for the cable end:
Precision stripping
Use specialized tools to strip the outer jacket, shield, insulation, and semiconductor layer (medium and high voltage) according to the dimensions on the drawing. The cut must be smooth and burr-free, and damage to the remaining insulation is strictly prohibited.
Thorough cleaning
Use a special cleaning agent (such as isopropyl alcohol) and non-woven cloth to thoroughly remove grease, dirtand semiconductor residue from all surfaces to be bonded. This is the key to ensuring a tight bond for heat shrink cable joints.
Fine grinding (medium and high voltage)
Fine grinding of the transition area between the semiconducting layer and the insulating layer to form a smooth slope and optimize the electric field.
2. Component positioning and connection:
Pre-installation positioning
Pre-slip the heat shrink tubing, stress cone, etc., onto one end of the cable in sequence and direction to ensure the correct position and easy sliding.
Reliable Connection
Crimp or bolt conductors to ensure a secure, low-resistance connection. Remove burrs, clean, and wrap with filler to restore roundness.
3. Core heat shrink process:
Centering:
The heat shrink tubing needs to cover the target area precisely.
Controlled heating:
This is the core of installing heat shrink cable joints :
Distance: The tip of the flame should be about 5-10 cm away from the pipe surface (to prevent burning).
Movement: Heat evenly in a spiral from the center to the ends or from one end to the other.
Degree: Observe that the indicator line disappears, the pipe is completely shrunk and fits tightly, and the sealant overflows evenly into a ring.
Uniformity: Ensures uniform heating across the entire circumference to avoid localized problems
Multi-layer structure (medium and high voltage): For medium voltage heat shrink cable joints or high voltage heat shrinkable joint kit, install the shrinkage stress control tube, insulation tube, and jacket tube layer by layer in strict order. After shrinking each layer, confirm that it is correctly positioned, sealed, and free of defects before proceeding to the next layer.
III. Post-installation verification: safeguarding security
Quality checks are essential.
1. Comprehensive visual inspection:
Check the shrink tubing: The surface must be smooth and flat, without wrinkles, burns, bubbles, or cracks. The sealant must flow evenly and continuously from both ends to form a complete seal. Components must be correctly positioned and labeled.
2. Electrical testing (important lines):
Medium and high voltage applications must undergo insulation resistance testing (megohmmeter) and withstand voltage testing (DC or AC) in accordance with regulations, and can only be put into operation after passing the test.
3. Records and inspections:
Record installation details (date, personnel, model, location, test results). After commissioning, regularly inspect the appearance (deformation, cracking, discharge marks) and environment (water accumulation, corrosion).

Conclusion: Precision makes reliability
The installation of heat shrink cable joints is a procedural one that combines the science of materials with electrical engineering. Selection (low-voltage heat shrink cable connector, medium-voltage heat shrink cable joint, high-voltage heat shrink cable joint) cleaning, stripping, and even controlled heat shrinking must be done with precision for the system to savor safety. Knowledge about the principles involved adherence to specifications, and keen attention to details are what it takes to metamorphose the benefits attached to heat shrink technology into an unbreakable guarantee for power connections.


